

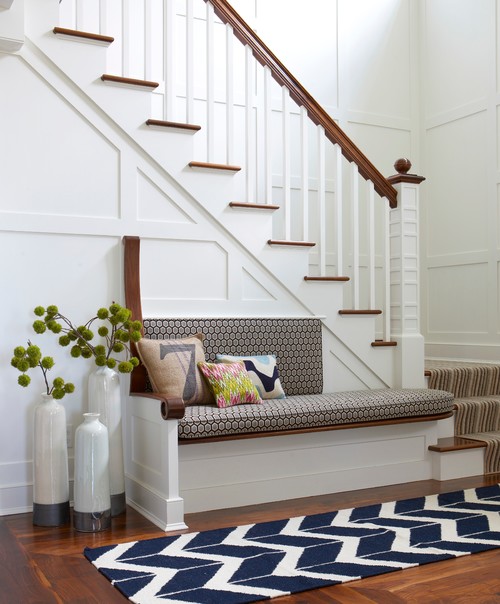
I wanted to do something interesting on this wall since this is something everyone who came to our door would see. I sat in the living room and stared at the wall trying to figure it out. Then I searched Pinterest and Houzz for entry ideas. There were tons! Of course. :) I loved this photo on Houzz:
I also did a Google search for "Board and Batten Entry" and found this lovely piece on Simply Beautiful House.com:
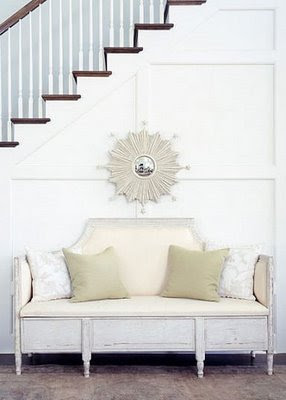
I love both of these photos and knew I wanted this lovely look!
Here is the wall we started with: (Don't you love the items strewn out on the floor from my kids coming in and out? Just keeping it real, folks.)

The first thing Travis did was put a border around the whole wall to give it a finished look. He just used the same boards as our baseboards.

Our wall has a subtle texture to it. I like the texture, but I didn't want it to show behind the board and batten. I wanted it to have a really smooth finish behind it. I admit I am a bit obsessive compulsive though and a huge perfectionist. I knew that I would stare at each and every bit of texture on the wall all the time and it would drive me nuts. So, I begged my husband to cover it up with a board before doing anything else. He had done this once before in our previous home, and he really didn't want to do it again, but because he knew it would drive me nuts, he very kindly obliged me and did it.
He got this thin panel board from Home Depot that has a finish like a white board. (When I was teaching elementary school I bought some of it and had it cut into individual white boards.)
I came up with a brilliant plan of how to cut it by measuring where the battens were going to go and making the boards that wide so the battens would cover the place where the boards joined together. Any time and effort we can save on the finishing is what we want to do because, let's face it, who likes puttying and caulking?
However, if you already have smooth walls, you should skip this step. Or if the slight texture won't bother you, then by all means, skip putting up the backing board!
But here is what it looked like while the panel board was going up:


After putting this up, my husband installed the vertical boards. We used 2 1/4" lattice trim, which we were originally going to space about two feet apart.
Here's a tip: When you are doing any type of board and batten, find the middle first and measure out from there however far apart you want your battens. Otherwise you will end up with different widths on the ends and it will look like an obvious DIY.

It sat like this for about a week while my husband was travelling for work. When he got back we decided to space them one foot apart instead of two feet apart. This is when it got a little tricky because originally we were going to have only two horizontal boards and three spaces. I can't remember how far apart they were, I think it was a little over 2 feet. That was a pretty easy measurement. We had marked the wall and everything. After deciding to do it the other way, my measurements got really messed up. We had to account for the light switch as well because we wanted to make sure it was in a square and not in the middle of a batten.
I think I tried the measurements about 5 times and stayed up half the night doing so. (Oops. My OCD is showing again.) I was finally able to go to sleep when I remembered that if I found the middle of the wall and went out from there it wouldn't really matter because the top and bottom sections would be the same size. So, that's what we did. The middle is in the middle of the square with the lightswitch. We just measured 6 inches above and below to know where to put the next board. We drew a line. Then we measured 12 inches down and made another line and 12 inches down to make the last line. We did the same thing above. Then we (and by "we" I mean Travis) started putting in all the boards. He cut a whole bunch of the lattice trim to 12 inches and began putting them up according to our measurements. Because of how closely we spaced them, this was a pretty tedious process.


Filling in the nail holes and caulking was not fun at all, but sure made it look professional!
My sister and her husband were really nice and came over one Saturday to help us paint. Thanks, Randy and Emily!!
Here is how it turned out:

I love the white, but I also think it would look amazing if it was painted a different color.

Now to figure out what piece of furniture to place in front of it. I am thinking some type of console table since we already have a bench in our entryway.
