Monday, October 5, 2015

Blackbeard's Ghost Family Movie Night


*I apologize in advance for the poor picture quality!  Our basement lighting is not very good and it's hard to get nice pictures.

Friday night we had a blast at our Blackbeard's Ghost Family Movie Night! If you haven't seen this oldie-but-goodie Disney movie, you need to!  I grew up watching it and have fond memories of myself and my siblings laughing hysterically at all of Blackbeard's antics.  It delighted me to watch my own children last night when my youngest was giggling his cute four-year-old giggle because "the motorcycle was driving itself!" My oldest was quite skeptical when presented with the surprise movie and decided to go read a book in a nearby room.  Upon hearing our laughter, she became curious and came out to see what was so funny.  By the end, she was the one telling everyone how funny the movie was and how much she loved it.  She even asked if she could watch it again the next night with her cousins.  


To put this movie night together, I gathered a bunch of awesome ideas from the internet.  Here they are, compiled for you:


I printed off my water bottle labels and napkin rings pictured above from Catch my Party who featured Printabelle on a pirate party post.  Here is where you can get the free printables yourself.


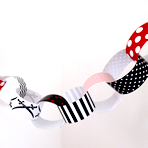
I got a bunch of printables from The Brother Creative Center.  They have an assortment of free printables to use for various parties.  I used their bunting, pirate hats, paper chain, pirate party box, and their pirate party cupcake toppers (just for decoration, not for cupcakes).


This next printable is from Paging Super Mom.  You can see it in the middle of my other bunting. I thought it was the perfect  complement. 

I used this great printable from Making It Sweet for my Pirate Ships (aka hot dogs).  I would suggest using the smaller sticks for making suckers, cake pops, etc., rather than the long skewers.  I was afraid they wouldn't go through the hot dogs, but I think they'd be just fine and they'd look even cuter. You can see how adorable they look on these cupcakes.


Here's how my Pirate Ships turned out.


I used these printables from We Heart Parties to make my food tents.  They have a lot more darling printables for a Pirate-themed birthday party for a younger child.


I also used this tutorial from Diapered Knights to make my pirate bandanas.  I didn't do her cute iron-on because I was going to be covering it up with a printed pirate hat, but they were super easy!  The iron-ons would be really fun too, if you don't want to have hats over them.  I'm thinking of the cute kids on Jake and the Neverland Pirates.


And before I go, I can't forget to thank Pizzazzerie for sharing their pirate party ideas!  I got my food ideas from here!  So, be sure to check it out!


Here are the pics of how my food turned out:


This party was a lot of fun!  I was so glad my family enjoyed the movie as much as I did when I was a child. I'm sure it will be one that we go back to year after year. 


Sunday, April 19, 2015

Board and Batten Feature Wall


I wanted to do something interesting on this wall since this is something everyone who came to our door would see.  I sat in the living room and stared at the wall trying to figure it out.  Then I searched Pinterest and Houzz for entry ideas.  There were tons!  Of course.  :)  I loved this photo on Houzz:

I also did a Google search for "Board and Batten Entry" and found this lovely piece on Simply Beautiful House.com:
http://www.simplybeautifulhouse.com/2012/07/entry-board-and-batten.html

I love both of these photos and knew I wanted this lovely look!

Here is the wall we started with: (Don't you love the items strewn out on the floor from my kids coming in and out?  Just keeping it real, folks.)


The first thing Travis did was put a border around the whole wall to give it a finished look.  He just used the same boards as our baseboards.


Our wall has a subtle texture to it.  I like the texture, but I didn't want it to show behind the board and batten.  I wanted it to have a really smooth finish behind it.  I admit I am a bit obsessive compulsive though and a huge perfectionist.  I knew that I would stare at each and every bit of texture on the wall all the time and it would drive me nuts.  So, I begged my husband to cover it up with a board before doing anything else.  He had done this once before in our previous home, and he really didn't want to do it again, but because he knew it would drive me nuts, he very kindly obliged me and did it.  

He got this thin panel board from Home Depot that has a finish like a white board.  (When I was teaching elementary school I bought some of it and had it cut into individual white boards.) 

I came up with a brilliant plan of how to cut it by measuring where the battens were going to go and making the boards that wide so the battens would cover the place where the boards joined together. Any time and effort we can save on the finishing is what we want to do because, let's face it, who likes puttying and caulking?  

However, if you already have smooth walls, you should skip this step.  Or if the slight texture won't bother you, then by all means, skip putting up the backing board!

But here is what it looked like while the panel board was going up:


After putting this up, my husband installed the vertical boards.  We used 2 1/4" lattice trim, which we were originally going to space about two feet apart.  

Here's a tip: When you are doing any type of board and batten, find the middle first and measure out from there however far apart you want your battens.  Otherwise you will end up with different widths on the ends and it will look like an obvious DIY. 


It sat like this for about a week while my husband was travelling for work.  When he got back we decided to space them one foot apart instead of two feet apart.  This is when it got a little tricky because originally we were going to have only two horizontal boards and three spaces. I can't remember how far apart they were, I think it was a little over 2 feet.  That was a pretty easy measurement.  We had marked the wall and everything.  After deciding to do it the other way, my measurements got really messed up.  We had to account for the light switch as well because we wanted to make sure it was in a square and not in the middle of a batten.  

I think I tried the measurements about 5 times and stayed up half the night doing so.  (Oops.  My OCD is showing again.)  I was finally able to go to sleep when I remembered that if I found the middle of the wall and went out from there it wouldn't really matter because the top and bottom sections would be the same size.  So, that's what we did.  The middle is in the middle of the square with the lightswitch.  We just measured 6 inches above and below to know where to put the next board.  We drew a line.  Then we measured 12 inches down and made another line and 12 inches down to make the last line.  We did the same thing above.  Then we (and by "we" I mean Travis) started putting in all the boards.  He cut a whole bunch of the lattice trim to 12 inches and began putting them up according to our measurements.  Because of how closely we spaced them, this was a pretty tedious process.


Filling in the nail holes and caulking was not fun at all, but sure made it look professional! 

My sister and her husband were really nice and came over one Saturday to help us paint.  Thanks, Randy and Emily!!

Here is how it turned out:


I love the white, but I also think it would look amazing if it was painted a different color.  


Now to figure out what piece of furniture to place in front of it.  I am thinking some type of console table since we already have a bench in our entryway.  


Friday, April 3, 2015

LDS General Conference Activities: General conference memory

For any members of the Church of Jesus Christ of Latter-day Saints out there, I just wanted to share some activities that I made for my kids to keep them busy during conference.  I will explain the full activity in another post, but since conference is tomorrow, I wanted to get this one activity up.  It's nothing amazing, but my kids like to play memory, so I made a Conference Memory game from them using images from lds.org.  Here it is.  Just copy the picture and paste it onto a word document and enlarge it to the size you'd like if needed.  Then just print it, have them color it if you want, cut it out and place face down on the floor for a memory game.  Voila!  Easy conference matching game for young kids!


Thursday, March 12, 2015

Our Amazing New Mudroom! (Using IKEA BILLY, BESTA and PAX)


When we first came and looked at this house, I immediately fell in love with the space for the mud room.  It was basically empty.  The previous owners had a modular storage unit on one end of the room.  I could just imagine the amazing potential this room held!  After getting most things unpacked and put away, the mud room was the first project we tackled.  Travis was sick of doing DIY projects after all the ones we he did in our last home.  So, he had the name of a contractor we were supposed to send pictures to and explain what we wanted him to do and he would give us a bid.  So, I took the pictures and started gathering ideas.  Here are the before pics--very messy!  It was our dumping ground when we moved in.


Then I cleaned it out so I could send some proper pictures to the contractor.  It is hard to get good pictures of the space because it is long and narrow--not to mention there are no windows, so the lighting is sub par for photos.


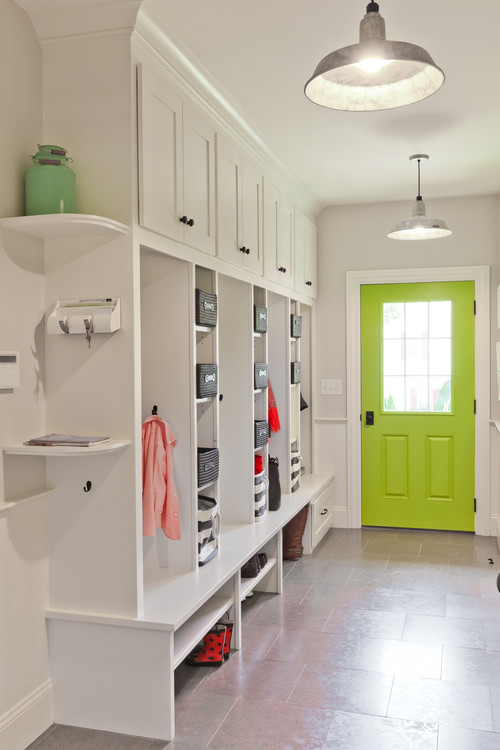
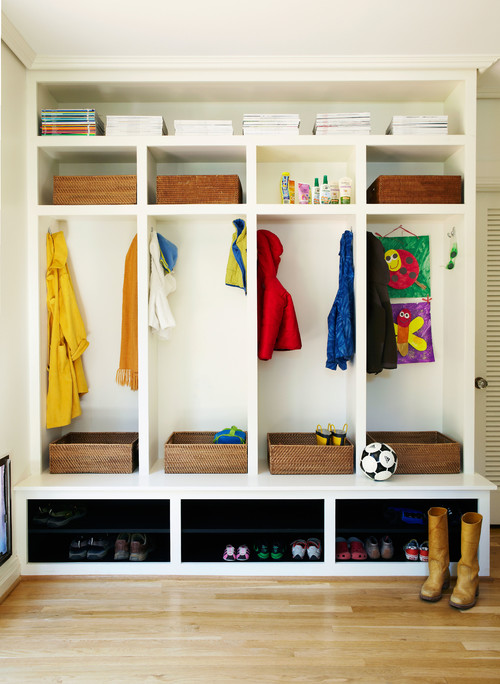
Then I started searching for ideas.  Here are some that I loved:


And I know this isn't a mud room, but I knew I wanted some closed storage and I loved the look of these IKEA Pax cabinets built in by Jenna Sue Design.


Basically, I wanted these things:

1. LOCKERS so that we could hang backpacks and coats, store shoes, gloves, hats, and all that kind of stuff that you need for going out.
2. CLOSED STORAGE for cleaning supplies and a few other things
3. OPEN SHELVING for bins that hold seasonal items and other miscellaneous things in the space that is behind the doors going to the garage and to the kitchen.
4. WAINSCOTING of some sort for appeal.
5. PRETTY--need I say more?

I worked for hours trying to come up with a plan on paper so that we could have everything we wanted in the design.  I measured, re-measured, searched online, etc.  And this is what I came up with:


So, I sent an email to my husband with the above pictures and ideas, but because of my obsessive-compulsiveness (I wish I didn't have this problem!), I kept searching.

That was when I came upon these lovely ideas from The Polkadot Chair and It feels Like Chaos:


My mind started going into overdrive with the idea of doing our own DIY mud room with IKEA Cabinets.  I immediately sent my husband an email trying to convince him that he could totally do it and I'd help!  "Think of all the money we'd save," I said.  "I know you don't want to do any more projects, but you've got this!"

I think I got him at, "Think of all the money we'd save."  :)

And so it began...

We bought one of these Pax wardrobes from IKEA: (*note--having problems with this link right now.  For some reason it won't come up on IKEA's website.  It is about 39" wide, 93" tall and 15" deep.)

And two of these doors from IKEA to go on the Pax wardrobe.

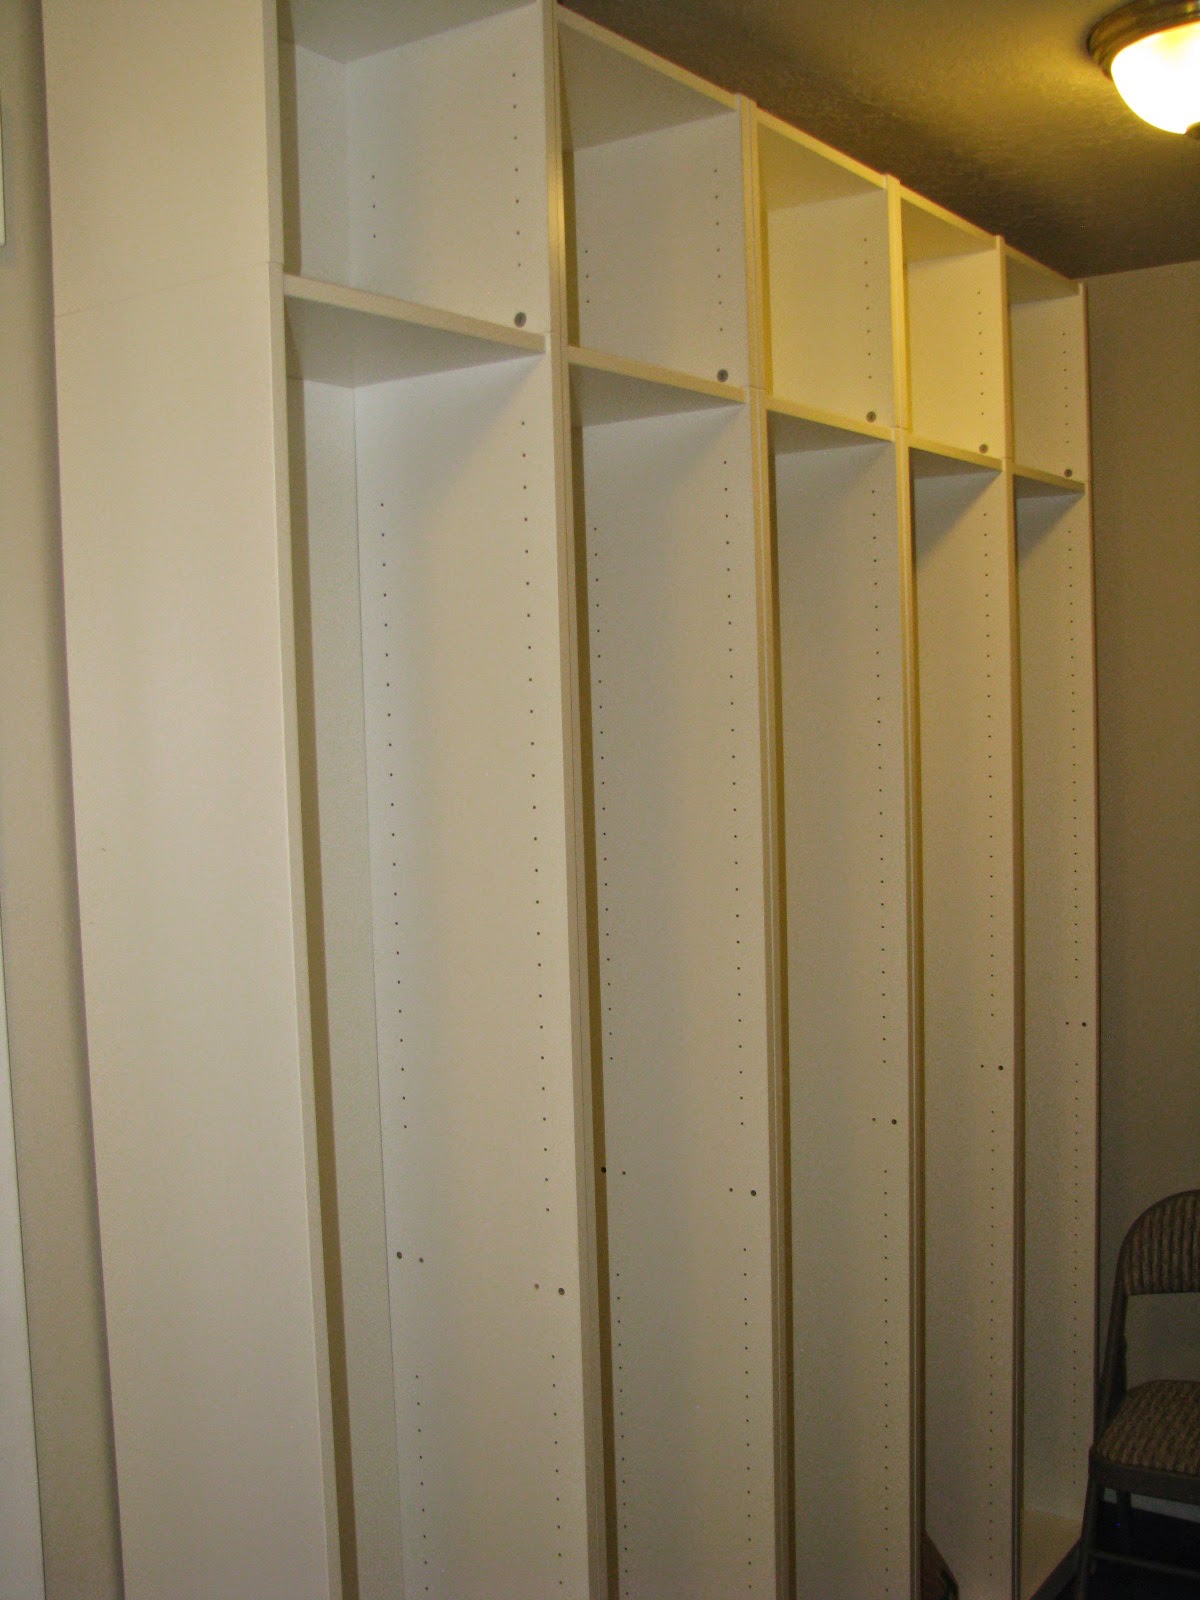
And 5 of these Billy Bookshelves from IKEA.
And because we wanted the lockers to go all the way to the ceiling, we also bought 5 of these:

Travis built the Billy shelves and the Pax wardrobe and started anchoring them to the wall.


Then he added crown molding:


You will see in my original plan/drawing I wanted 2 PAX wardrobes for lots of closed storage.  My drawing also included a bench with the lockers, but since we decided to do it ourselves with an IKEA hack, we couldn't do a bench under the lockers.  I tried every conceivable combination of BILLY with other IKEA TV benches, but none of them lined up exactly.  So I decided it was ok not to have a bench. 

However, when we went to IKEA to buy everything, we decided to just get one PAX wardrobe and see if we really needed more closed storage. This also left space on the other side of the PAX wardrobe next to the door for a bench.  

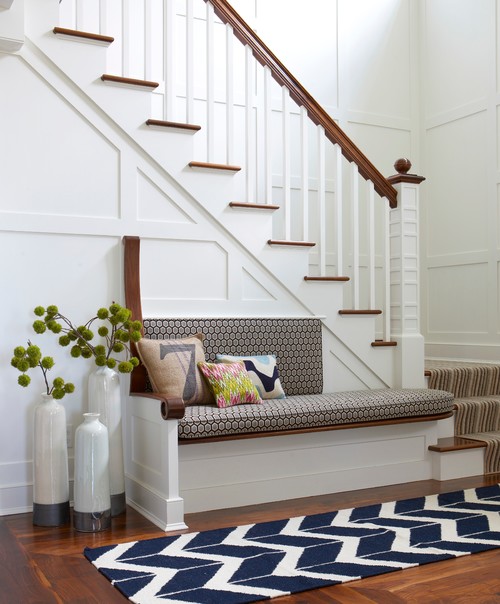
When I found this picture on Pinterest, I fell in love.  It's from House and Home:


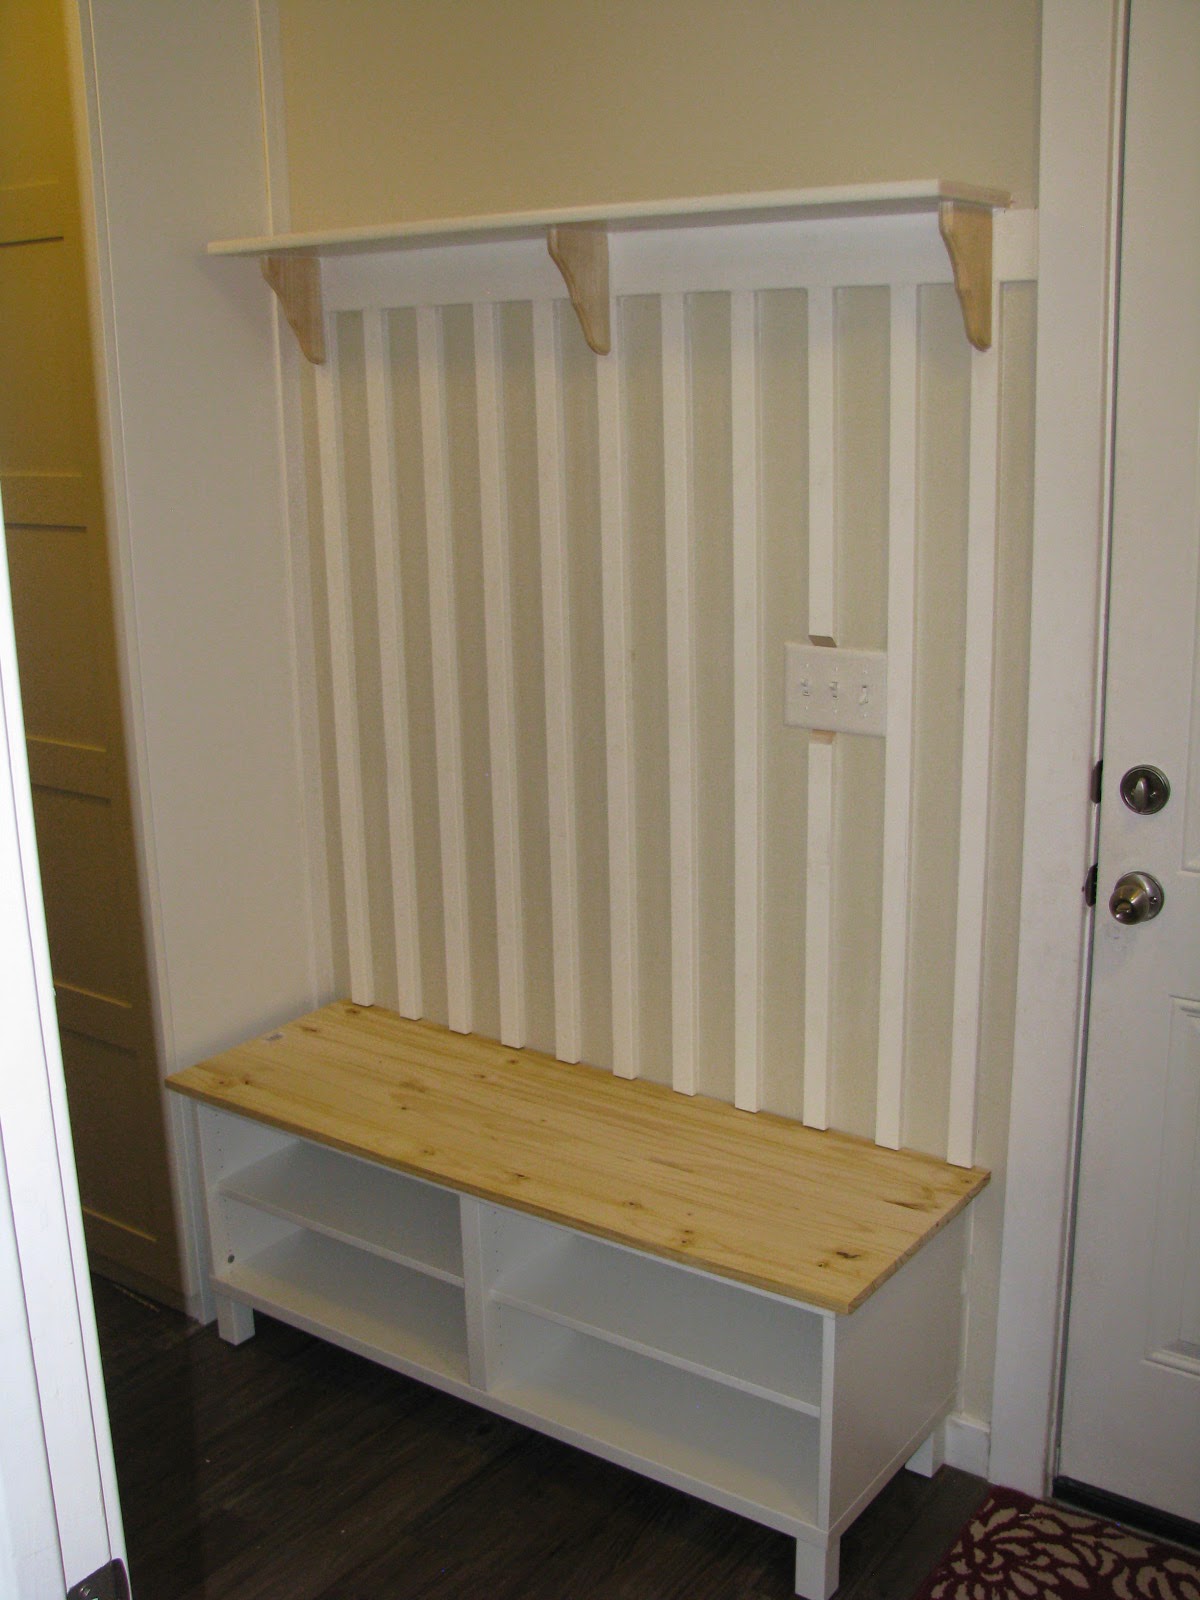
Originally I wanted a plank wall in this room, but we decided to go with board and batten instead, using this photo for inspiration. I am still looking for the perfect spot for a plank wall in this home.  I just love them, but I think board and batten fit in this space better.  We also bought this BESTA TV bench and 4 legs.  
Finally, we bought some pine wood for a bench topper as well as some wood for a shelf above.  Travis cut the wood a little bigger than the bench so it would overhang.  And you can see we added board and batten as well.  


In the picture above, the wood wasn't attached yet, just set on top so we could see how it would look. Travis stained the wood to a dark shade that I love.

He also built the shelves in the space behind the two doors.  Here they are, ready to paint.  


And here's the finished product:

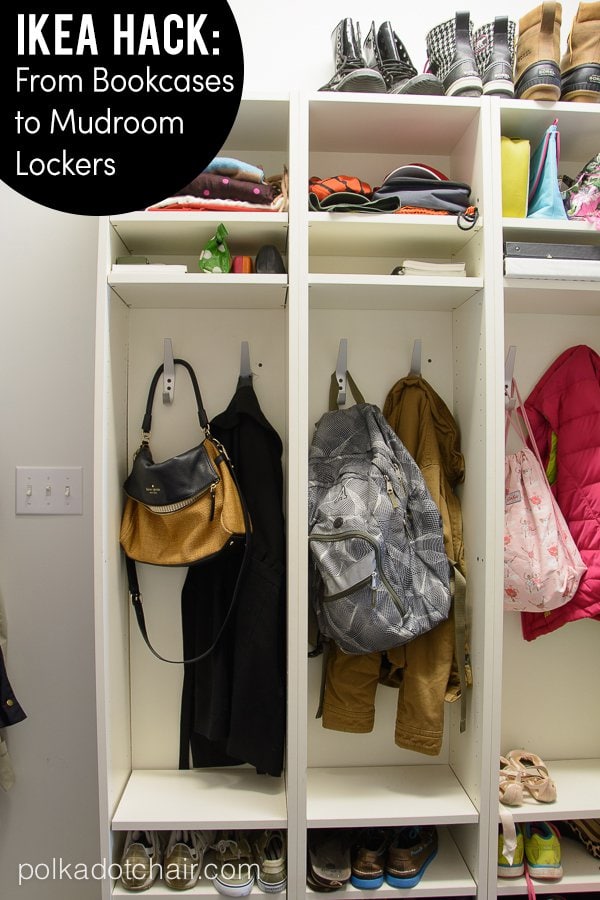
Five lockers complete with space for papers and other misc. items, such as gloves, hats, sunglasses, etc.


A place for keys:


We attached high hooks on each locker.  And on the kids' lockers (the three middle ones) we attached lower hooks on each side for their coats and backpacks.  We wanted them to be able to reach them without having to step up, but we also wanted the higher hooks for when they are older.

He also covered the joining boards of the lockers with a strip of lattice trim so you can't see the line or the slight gap between the two lockers.


A bench:

Open shelving for storage:
This area still has work to do.  I have some organization ideas in mind, but that will be for another post.  Also, I still haven't found some of the things that I need to put over here.  I don't think I've mentioned it yet, but moving stinks!  I really don't like that I still have unpacked boxes.


Closed Storage:
As a side-note, we had to remove the original light fixtures because the PAX door ran right into it. So, now we have can lights.


My artwork inspiration came from Pebbles in My Pocket.


And that's that.